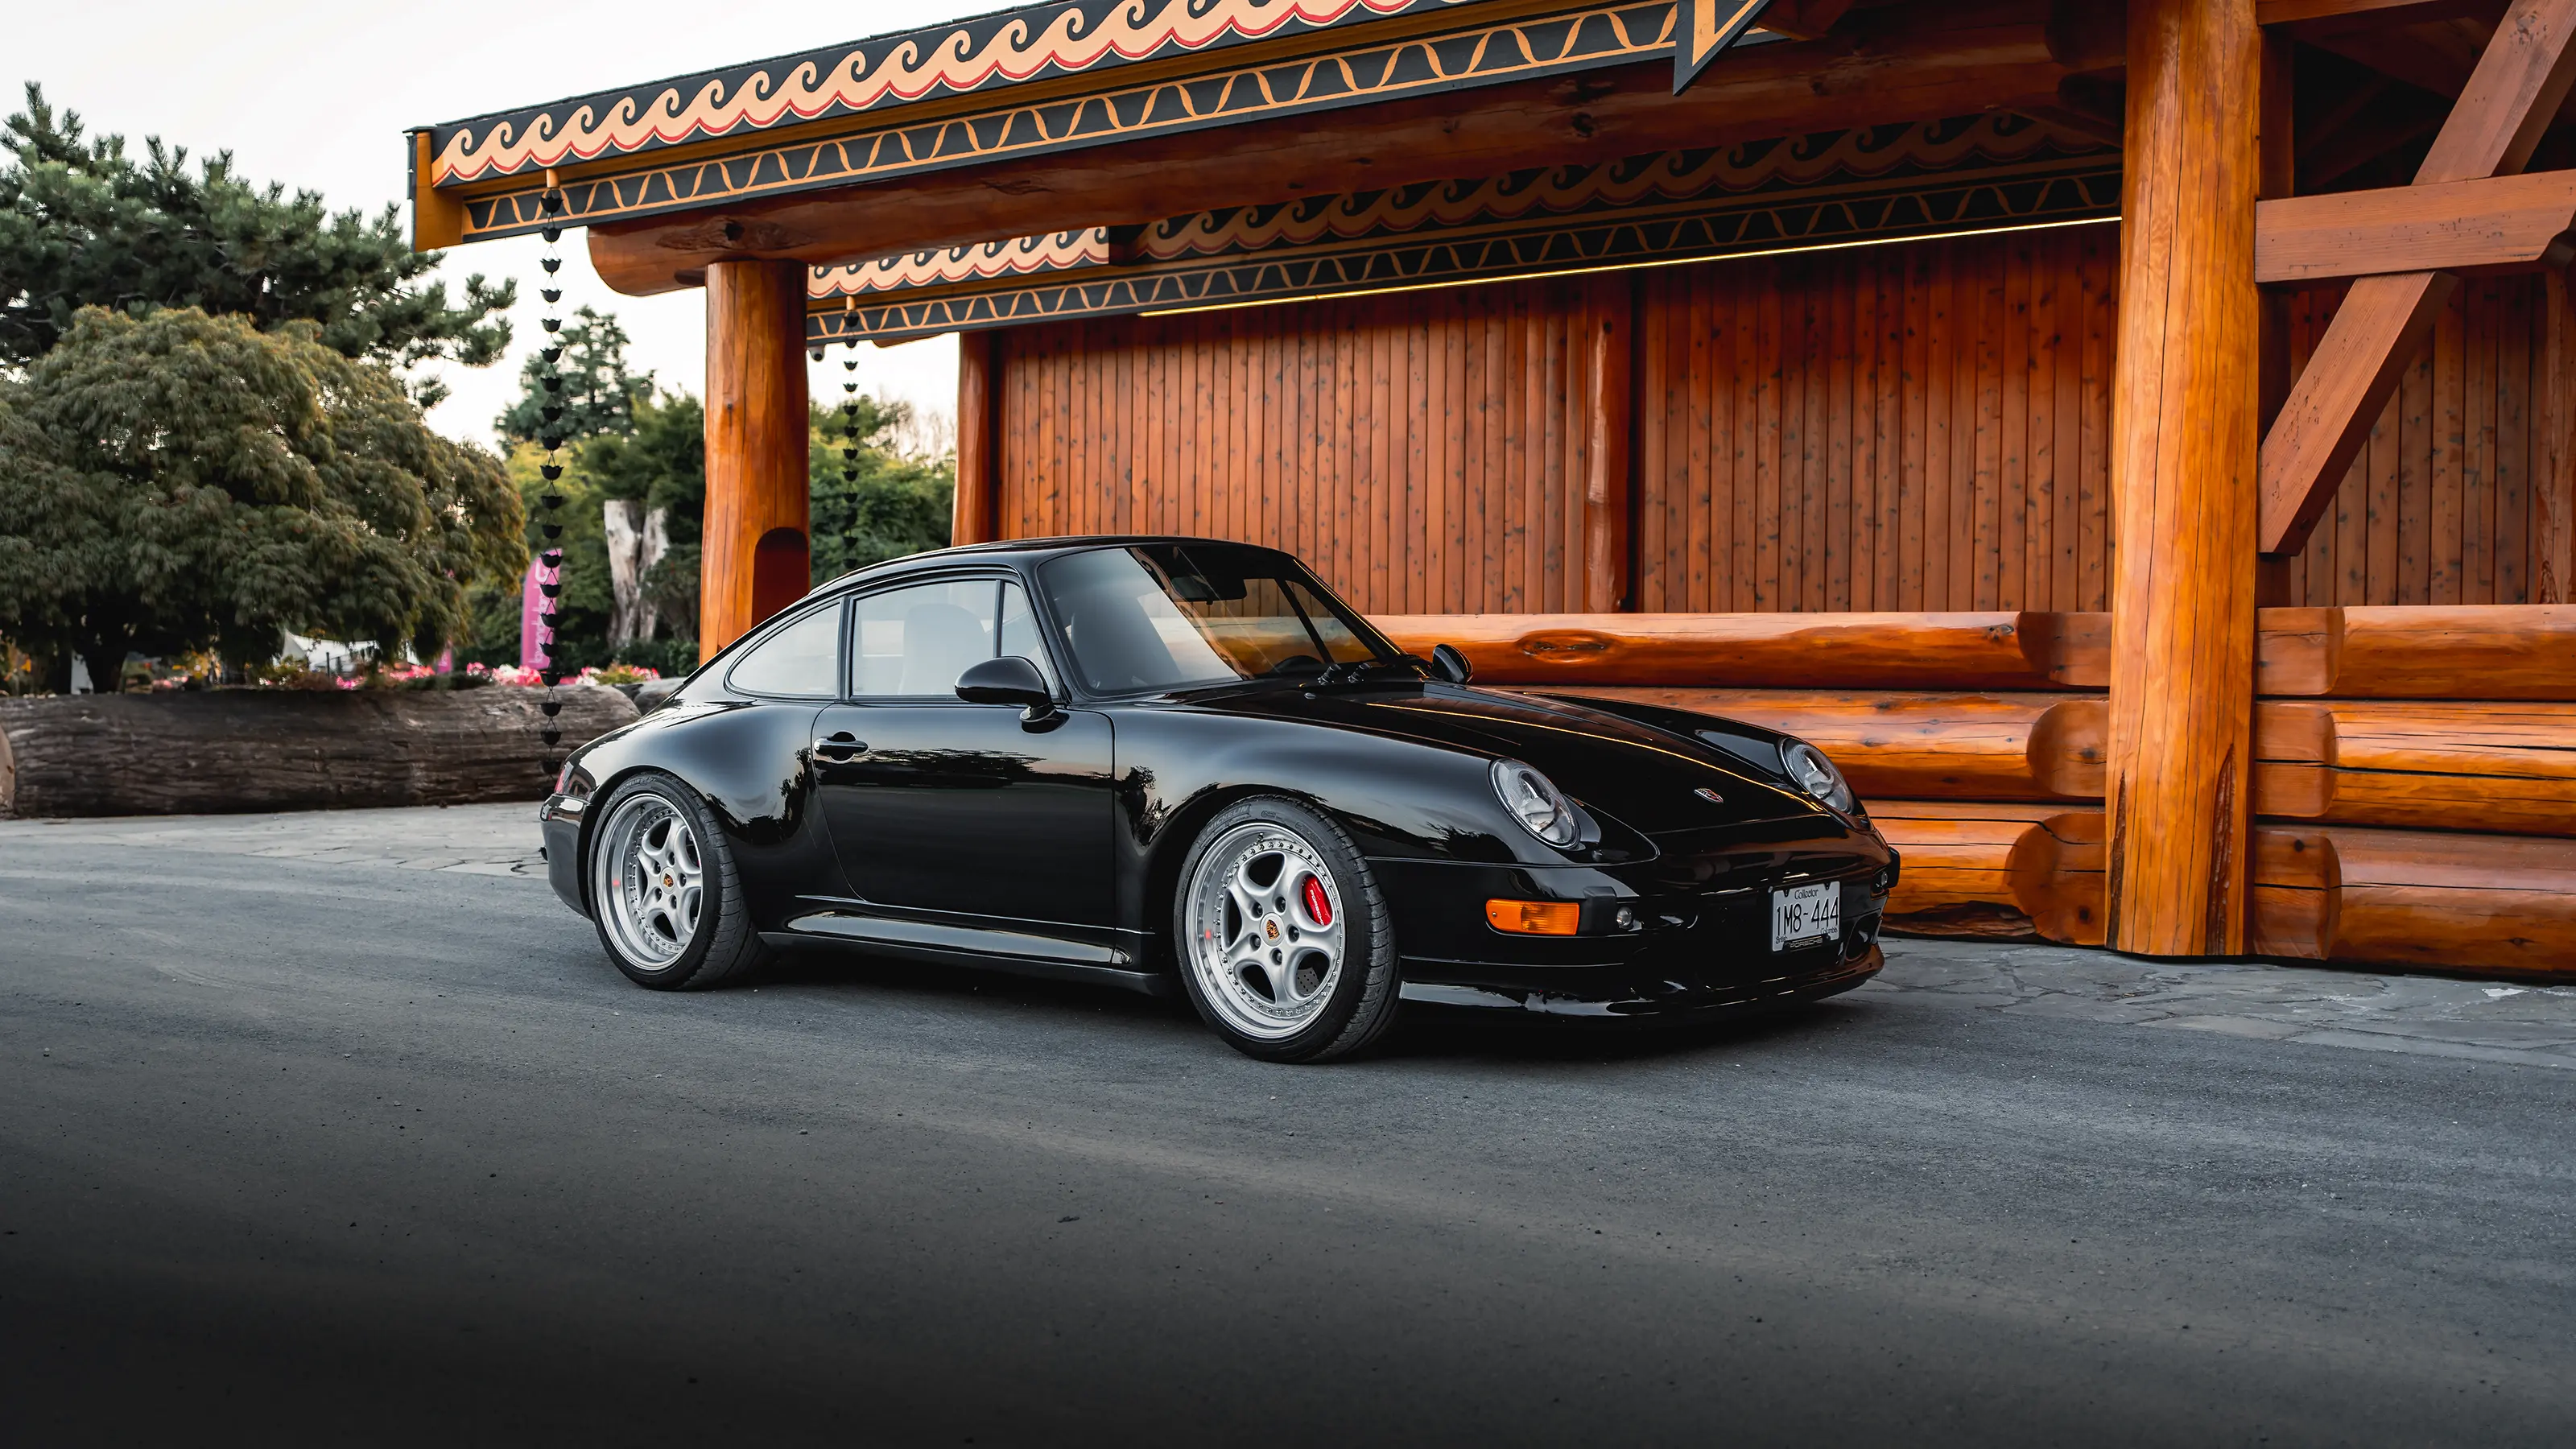
You've booked the shoot, the location is set, the light is going to be perfect. The one variable that's completely in your hands? The condition of the car when it rolls up. Preparation is the difference between images that look good and images that look like they belong in a magazine — and it's mostly done in the 48 hours before we meet.
Here's the exact checklist I send my clients.
48 hours before: wash and detail
- Full hand wash, not a drive-through. Automated washes leave swirl marks and miss the details that a camera at f/2.8 absolutely will not miss.
- Wheels and tires deserve half the effort. Brake dust on the barrels and browned tires show up in every low-angle shot. Clean the barrels, dress the tires — satin finish, not dripping-wet gloss.
- Glass inside and out. Streaky glass ruins interior shots and any angle where we shoot through the windows.
- Skip the last-minute wax experiment. If the car's never been polished, the night before the shoot isn't the time to learn. A clean car photographs better than a half-corrected one.
The day before: clear the car out
- Remove clutter from the interior — charging cables, parking passes, air fresheners, the gym bag in the back seat. Interior shots happen at almost every session, and taping a dash cam cable out of frame takes minutes we'd rather spend shooting.
- Take out the dash cam and radar detector if you can. Suction-cup rings on the windshield are surprisingly visible in photos.
- Decide on your license plate. Options: leave it on (most natural), or I can blur/replace it in editing on request. Removing it before the shoot is also fine if your car looks good without it.
- Check your fluids, weirdly. A car that won't start at a remote lookout at golden hour is a story I only need once.
What to bring on shoot day
- Microfiber towel and quick detailer. Ten minutes of road dust happens on every drive to a location. A two-minute wipe-down before we start is standard.
- Any props that tell your story — helmet, vintage plates, the toolkit that came with the car. The best sets include one or two personal touches.
- A second set of wheels? If you're between setups, tell me before the shoot — wheel swaps mid-session are possible but need planning.
- Layers. Vancouver golden hour is beautiful and cold. You'll be standing around while I crawl on the ground; dress accordingly.
Small things that cost great shots
- Tire shine overspray on the paint — flares badly in backlit shots. Apply dressing with an applicator, not aerosol, and wipe the lower panels after.
- Half-tank-light on. We move the car constantly during a session — repositioning for angles, rolling shots, chasing light. Arrive with fuel.
- Being late for golden hour. The light doesn't wait. If sunset is 8:40pm, "arriving around 8" means we lose the warm-up shots. Here's why timing matters so much.
- Fresh rock chips and scratches you forgot to mention. I can handle minor blemishes in editing — but tell me in advance so I plan angles around anything bigger.
What you don't need to worry about
- Perfect paint. Light swirls and minor imperfections mostly disappear with proper lighting angles, and the rest is handled in editing.
- Posing or "directing." That's my job. You'll get direction for any shots you're in, and the car doesn't need coaching.
- Weather. This is Vancouver — I watch the forecast obsessively and we reschedule for free with 48+ hours' notice. Overcast is actually spectacular for some looks; heavy rain we simply move.
The bottom line
A properly prepped car saves 30+ minutes of on-location fixing, keeps the editing focused on making images beautiful instead of clean, and shows in every single frame. Do the wash properly, empty the interior, bring a towel, arrive on time with fuel — that's 90% of it.
Want the full experience — location scouting, timing, shooting, and editing all handled? Check out what a session costs, browse recent work, and email arashyx@gmail.com to book your date.